Having issues powering on your Yamaha receiver? This common problem affects many Yamaha receiver owners, preventing enjoyment of these robust home entertainment systems. Properly diagnosing and resolving power problems is key to restoring seamless audio performance. This guide will equip you to troubleshoot “Yamaha Receiver Won’t Power On” problems.
Yamaha Receiver: Brief Info
Yamaha receivers are renowned for premium audio quality, incorporating proprietary sound technologies like CinemaDSP 3D surround processing along with Dolby Atmos and DTS:X decoding for immersive audio playback. Advanced internal components like high quality transformers, regulators and capacitors tightly regulate power flow to enable powerful, low-distortion sound. However, technical issues arising in these delicate power systems can lead to startup and operational problems.
Common Reasons Why Your Yamaha Receiver Won’t Power On
A number of issues can prevent a Yamaha receiver from powering up. Faulty electrical connections and wiring problems in the AC supply system commonly account for no-power situations. Blown internal fuses caused by power surges are another culprit. Overheating due to clogged vents or fans can sometimes damage transformers or other vital components that impact the boot up sequence. Glitched firmware code as well as old, failing capacitors on amplifier boards can also interrupt start up programs and functions. Carefully diagnosing the root cause is the key starting point.
Step-by-Step Troubleshooting Guide
Before seeking professional repairs or replacement, try working through DIY troubleshooting steps which may resolve the no-power issue and restore system operation. Carefully and systematically inspect connections, reset the receiver, check for damage, and update firmware. Moving step-by-step helps methodically isolate the problem area:
- Ensure the receiver is plugged into a verified working, dedicated wall outlet cleared of potential obstructions. Try alternate outlets.
- Check power cords for damage and firmly reconnect both ends, including the rear panel of the receiver. Replace cords if damaged.
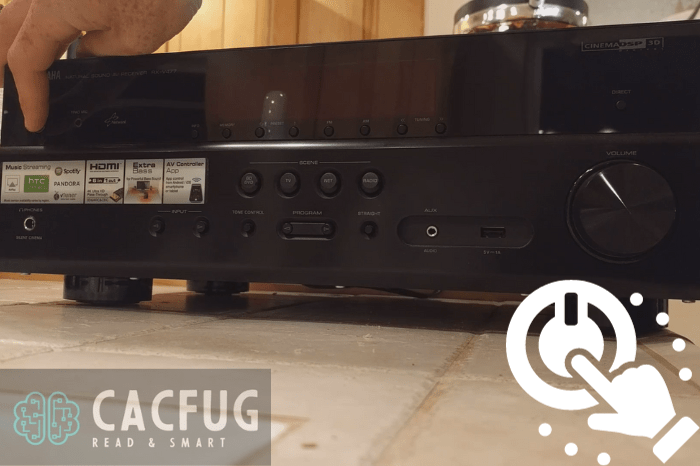
- Press and hold the receiver’s standby power button for 30+ seconds to force reset the unit.
- Examine the rear panel and ventilation fans/ports for visible damage or blockages which could indicate overheating related failure.
- Via internet connection, visit Yamaha’s site to check for firmware updates specific to the receiver model. Download and install the latest update.
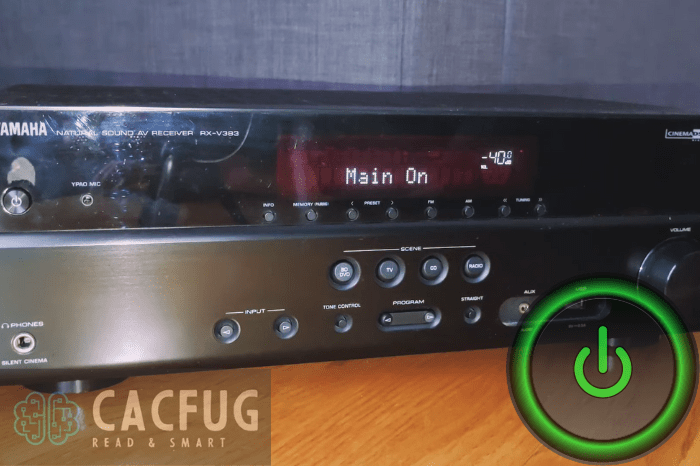
- After completing steps 1-5, press the power button again for several seconds to boot up the receiver.
Moving deliberately step-by-step helps identify connectivity, hardware, or firmware issues preventing normal power on function. Keep notes detailing findings and actions taken during testing. This aids Yamaha support in further advanced troubleshooting if necessary.
Advanced Troubleshooting Techniques
If methodical DIY troubleshooting still fails to revive your Yamaha receiver, deeper electrical and component testing may be required to isolate the failure. At this stage seeking professional assistance is advised. Contact authorized Yamaha service centers which have proprietary diagnostic tools and access to replacement parts and components for testing and repair. Trained Yamaha technicians systematically test transformers, mainboards, capacitors, regulators and other internal electronics to find failures and restore proper operation.
Seeking help from experienced home theater installers or electricians familiar with audio equipment can also facilitate advanced testing. Lastly, Yamaha’s customer support team provides technical consultation if trouble persists. Supply key details on the receiver model, observed symptoms, and actions taken.
Preventive Measures and Maintenance Tips
Prevention is critical as neglect contributes to premature Yamaha receiver failures down the road. Ongoing maintenance enables maximizing longevity and performance over many years of enjoyable use:
- Carefully clean vents using compressed air to prevent overheating and dust-related component failures.
- Routinely check Yamaha’s site and apply firmware/software updates which often resolve technical issues.
- Use an appropriate surge protector to safeguard from potentially damaging electrical spikes.
- Periodically inspect the rear panel ports, wiring and internal components for damage or potential warning signs.
Undertaking preventative receiver care reduces expensive failures and repairs over time. Combining smart prevention with prompt troubleshooting helps fully leverage your Yamaha investment long-term.
Yamaha Support and Warranty Information
Yamaha stands behind their products, often providing 1-3 years limited factory warranty including parts and labor. Visit Yamaha’s support site or contact customer service before expiration to avoid costs. Provide proof of purchase and full details on the power problem.
Conclusion
By methodically troubleshooting power issues, the root cause usually reveals itself. Carefully work through each step outlined here while documenting all findings. In many cases DIY repairs can resolve “Yamaha Receiver Won’t Power On“ problems, restoring home theater functionality.